NGSS-Connected Lesson Plan for Grades 2–3
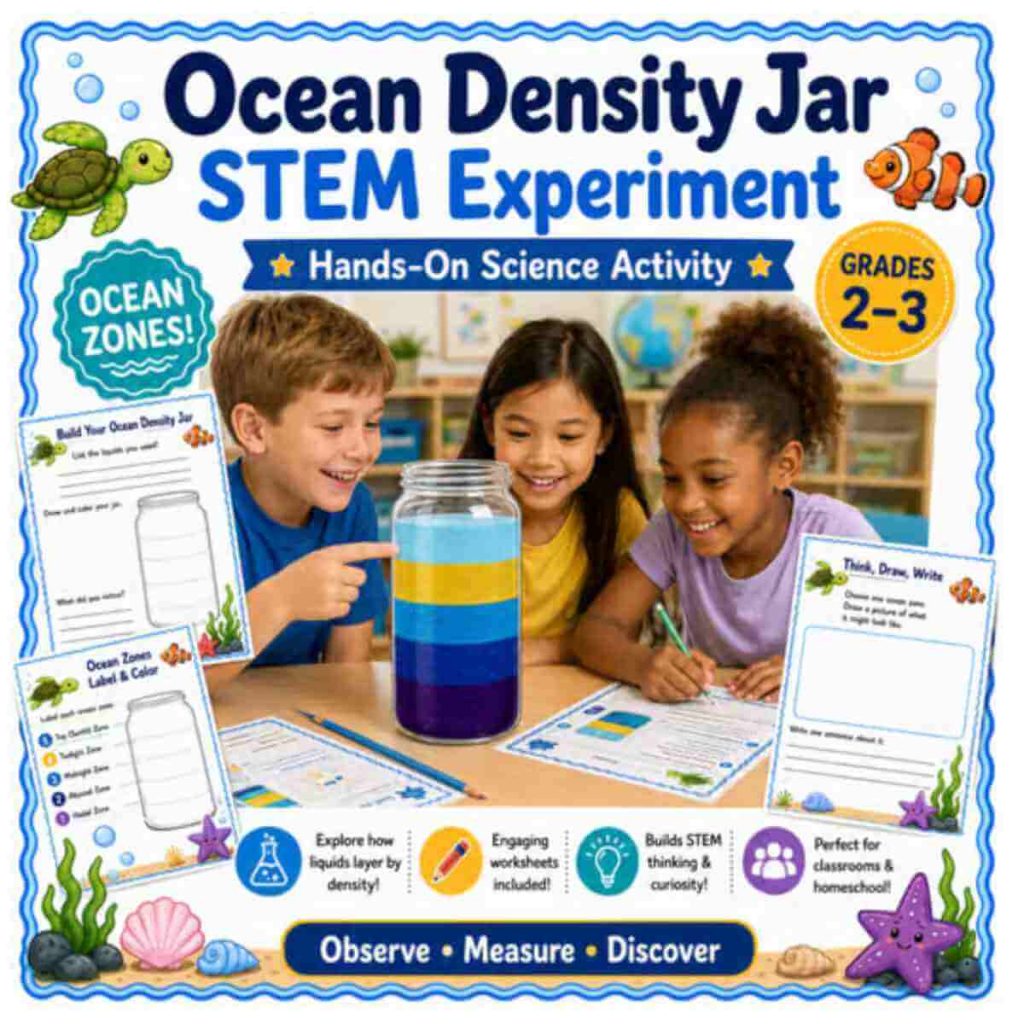
Explore liquid density, sinking and floating, and the five ocean zones with a colorful teacher-led STEM demonstration. In this activity, students predict what will happen, observe five liquids forming layers, record their results, and use evidence to explain why some liquids settle above or below others.
The finished density jar also serves as a visual analogy for the five ocean zones. Be sure to remind students that real ocean zones are not separate liquid layers. Ocean zones are defined mainly by depth, light, temperature, and pressure.
Lesson Overview
- Grade level: 2nd–3rd Grade
- Time: 45–60 minutes
- Lesson format: Teacher-led science demonstration with student prediction, observation, and explanation
- Science topics: Density, layers, sinking and floating, ocean zones, scientific models
- Safety note: Only the teacher should handle the isopropyl alcohol.
NGSS Connection
This lesson builds toward 2-PS1-1: Matter and Its Interactions. Students observe and compare the behavior of different liquids, identify patterns in the results, and use evidence from an investigation to explain why the liquids form layers.
For 3rd grade, the activity is best used as an NGSS-style enrichment lesson emphasizing scientific practices and crosscutting concepts rather than as direct evidence of mastery of a Grade 3 Performance Expectation.
Three-Dimensional Learning
Disciplinary Core Idea – PS1.A: Structure and Properties of Matter
Different kinds of matter have different observable properties. Liquids can be compared by how they behave when equal amounts are added to the same container.
Science and Engineering Practices
- Planning and Carrying Out Investigations
- Analyzing and Interpreting Data
- Developing and Using Models
- Constructing Explanations from Evidence
Crosscutting Concepts
- Patterns: The liquids form a predictable top-to-bottom pattern when the materials and procedure remain the same.
- Cause and Effect: Differences in relative density help determine where each liquid settles.
- Systems and System Models: The jar is a model that helps students visualize an ordered system while recognizing that the model has limitations.
Essential Question
Why do some liquids settle above or below other liquids?
Learning Objectives
By the end of the lesson, students will be able to:
- predict which liquid will form the top and bottom layers;
- observe and record the order of five liquid layers;
- use the words denser and less dense to compare liquids;
- explain that denser liquids generally settle below less dense liquids when the liquids do not mix easily;
- identify the five ocean zones in order from top to bottom;
- describe one way the density jar is similar to the ocean-zone model and one way it is different.
Key Vocabulary
- density: how much matter is packed into a certain amount of space
- denser: having more matter packed into the same amount of space
- less dense: having less matter packed into the same amount of space
- layer: one part that sits above or below another part
- sink: to move down toward the bottom of a liquid
- float: to stay at or near the top of a liquid
- pressure: the push of water on an object from all directions; water pressure increases with depth
- ocean zone: a region of the ocean defined by conditions such as depth, light, temperature, and pressure
Materials
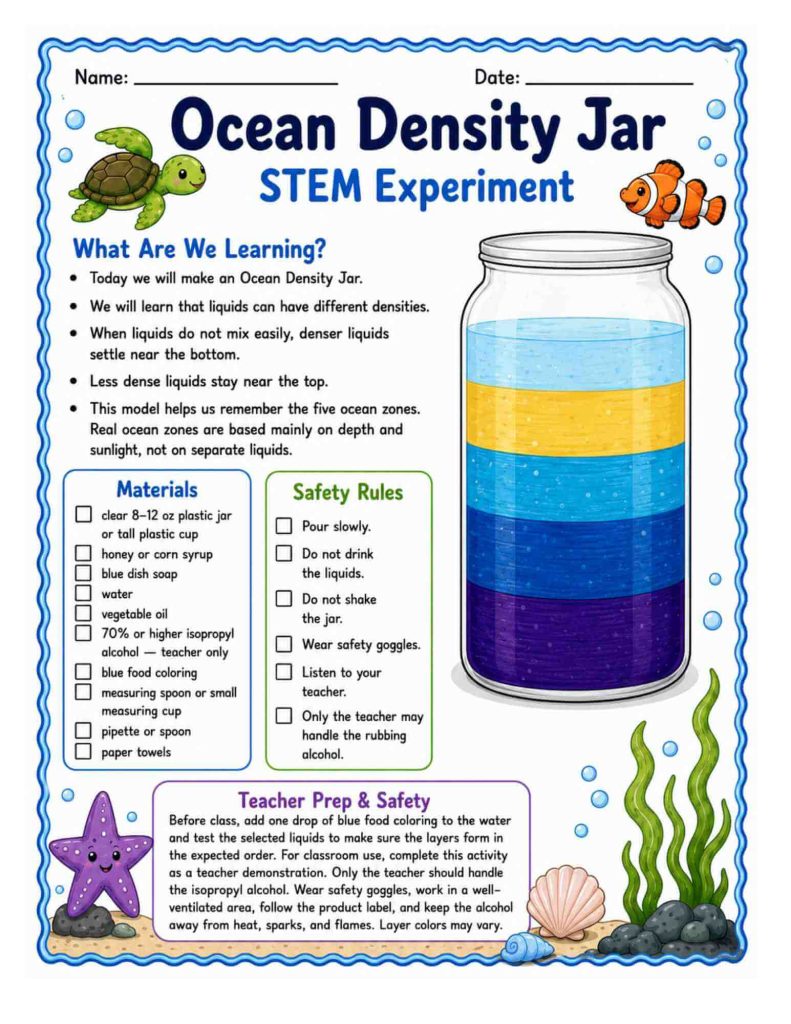
- one clear 8–12 oz plastic jar or tall plastic cup
- about 2 tablespoons (30 mL) of honey or corn syrup
- about 2 tablespoons (30 mL) of blue dish soap
- about 2 tablespoons (30 mL) of water
- blue food coloring
- about 2 tablespoons (30 mL) of vegetable oil
- about 2 tablespoons (30 mL) of 70% or higher isopropyl rubbing alcohol — teacher use only
- measuring spoon or small measuring cup
- pipette or spoon
- paper towels
- safety goggles
- student prediction, observation, and ocean-zone worksheets
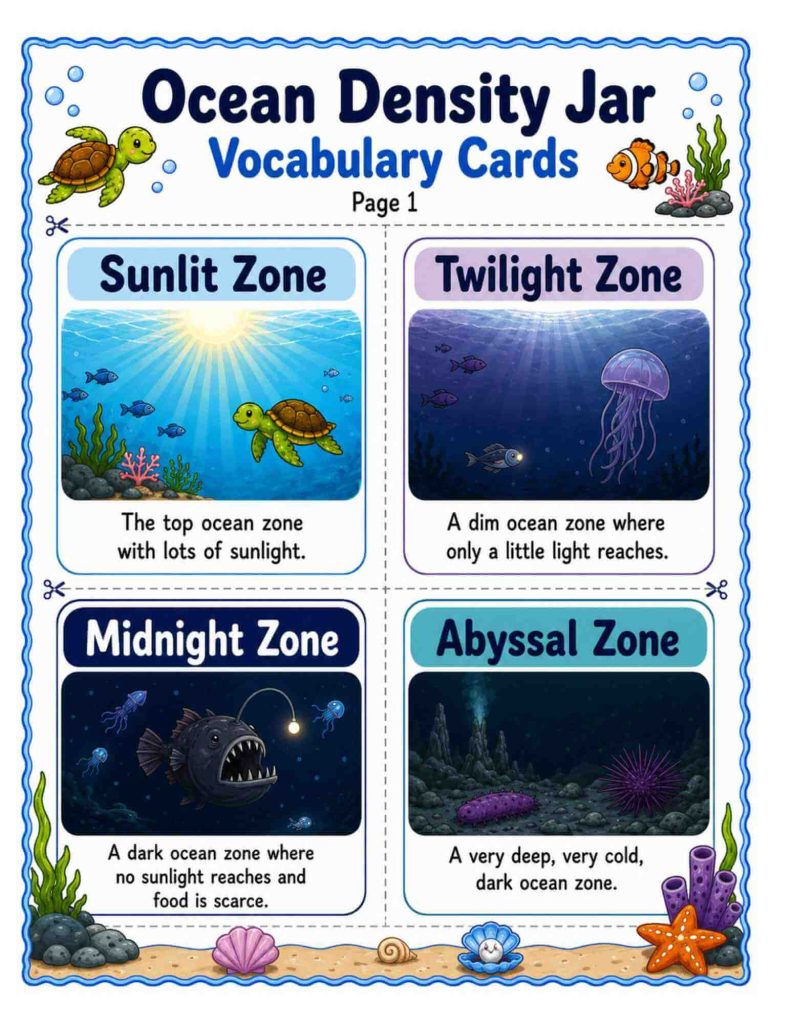
- optional vocabulary cards
Teacher Preparation and Safety
Before class, add one drop of blue food coloring to the water. When possible, choose dish soap and colored water that are visually different enough for students to distinguish.
Test the selected liquids before the lesson because the densities and colors of household products can vary by brand. Confirm that the liquids form the expected order when poured slowly.
Complete this activity as a teacher demonstration. Wear safety goggles, work in a well-ventilated area, follow the product label, and keep the rubbing alcohol away from heat, sparks, and flames. Students should not touch or drink any of the liquids. Do not shake the completed jar.
Lesson Procedure
1. Engage – Introduce the Phenomenon (5–7 minutes)
Show students the five liquids without revealing their final order.
Ask:
- Are all liquids equally heavy for the same amount?
- Which liquid do you think will form the bottom layer?
- Which liquid do you think will form the top layer?
- Will the liquids stay separate or mix at first?
Have students complete the Before the Experiment: Make a Prediction page. Emphasize that a prediction does not have to be correct. Scientists make predictions so they can compare their ideas with evidence.
2. Explore – Build the Density Jar (15–20 minutes)
Explain that equal amounts of each liquid will be used. Ask students why keeping the amount the same makes the comparison fairer.
Slowly add the liquids in this order:
- Honey or corn syrup – expected bottom layer
- Blue dish soap
- Blue water
- Vegetable oil
- Isopropyl rubbing alcohol – teacher only; expected top layer
Pour each liquid very slowly down the inside wall of the jar. Wait for each layer to settle before adding the next one.
As each liquid is added, ask students to observe:
- Did the liquid sink, float, or mix?
- Where did it settle?
- Did the result match your prediction?
- What pattern do you notice?
Some layers may slowly mix over time. This is why students should observe the jar soon after it is completed.
3. Explain – Discuss Density (8–10 minutes)
Invite students to share their observations before introducing the scientific explanation.
Explain:
When equal amounts of different liquids are compared, some liquids contain more matter in the same amount of space. These liquids are denser. Denser liquids generally settle below less dense liquids when the liquids do not mix easily.
Use the completed jar as evidence. The honey or corn syrup should be near the bottom, while the rubbing alcohol should be near the top. Remind students that careful pouring and whether the liquids mix with one another also affect how clearly the layers form.
Students complete the Ocean Density Jar Observation: Draw and Label page by drawing the layers, coloring them, and recording the order they observed.
4. Elaborate – Connect to the Ocean Zones (8–10 minutes)
Introduce the five ocean zones from top to bottom:
- Sunlit Zone
- Twilight Zone
- Midnight Zone
- Abyssal Zone
- Hadal Zone
Discuss the general pattern:
- Sunlight decreases with depth.
- Water usually becomes colder as depth increases.
- Water pressure increases with depth.
- Food becomes scarcer in the deep ocean, although deep-sea organisms have special adaptations.
Students use the jar as a visual reminder of the zone order and complete the Connect to the Ocean Zones page.
Important Model Limitation
Tell students explicitly:
The density jar is a model that helps us remember the order of the ocean zones. Real ocean zones are not made from five separate liquids. They are regions of ocean water defined mainly by depth, light, temperature, and pressure.
Ask students to identify:
- one way the jar is like the ocean-zone diagram;
- one way the jar is different from the real ocean.
5. Evaluate – Use Evidence to Explain (5–10 minutes)
Review the student observation pages and responses. Ask students to complete a short Claim–Evidence–Reasoning response.
Claim: Which liquid was the densest?
Evidence: Where did that liquid settle in the jar?
Reasoning: Explain how its position provides evidence about its relative density.
Suggested sentence frame:
I think __________ was the densest liquid. My evidence is that it settled __________. This shows it was denser than __________ because __________.
Assessment
Formative Assessment
- student predictions;
- participation in the observation discussion;
- accurate drawing of the liquid layers;
- correct use of denser, less dense, sink, and float;
- comparison of the prediction with the observed result.
Exit Ticket
- Which liquid formed the bottom layer?
- What evidence shows that this liquid was denser than the other liquids?
- Name one way the density jar is different from the real ocean.
Expected Results
The expected order from bottom to top is:
- honey or corn syrup;
- dish soap;
- water;
- vegetable oil;
- isopropyl rubbing alcohol.
Actual results may vary slightly because product formulas, temperature, pouring speed, and mixing can affect the appearance of the layers.
Differentiation
Support for Younger Learners and English Learners
- Introduce the picture vocabulary cards before the experiment.
- Allow students to draw their observations before writing.
- Use gestures for sink, float, top, and bottom.
- Provide sentence frames such as:
- “I observed __________ at the bottom.”
- “__________ floated above __________.”
- “My prediction was the same as/different from my observation.”
Extension for Advanced Learners
- Have students create a data table showing the position of each liquid.
- Ask students whether the final order would change if the liquids were poured in a different sequence.
- Compare the approximate densities of selected liquids using a simple bar graph.
- Research one organism from each ocean zone and identify an adaptation that helps it survive.
- Investigate how temperature and salinity affect the density of ocean water.
Common Misconceptions to Address
- “The heaviest-looking liquid must be the densest.” Density compares matter within the same amount of space, not simply the total amount or appearance.
- “All liquids mix together.” Some liquids mix easily, while others remain separate.
- “Density is the only reason the layers stay separate.” Relative density is important, but whether liquids mix and how carefully they are poured also affect the result.
- “The real ocean contains five separate liquid layers.” The jar is an analogy for zone order, not a scale model of ocean composition.
Optional Follow-Up Activities
- Drop small teacher-selected objects into a separate density column and observe where they settle.
- Create an illustrated ocean-zone foldable.
- Compare the amount of light, temperature, pressure, and animal life in each zone.
- Write a short explanation titled Why Do Liquids Form Layers?
- Design an imaginary animal with adaptations for the Midnight, Abyssal, or Hadal Zone.
Teacher Note
This activity is most accurately described as NGSS-connected or building toward 2-PS1-1. The prediction, observation, discussion, and evidence-based explanation are essential parts of the lesson. The ocean-zone component provides a meaningful Earth science connection, but it should be presented as a visual analogy rather than a literal model of ocean water.
Want the Ready-to-Use Ocean Density Jar Resource?
Turn this colorful STEM demonstration into a complete science lesson with the Ocean Density Jar STEM Experiment & Ocean Zones Activity.
The printable resource includes student-friendly pages for predictions, observations, liquid density, sinking and floating, the five ocean zones, science vocabulary, and evidence-based thinking. It is designed for Grades 2–3 and makes it easy to guide students from making a prediction to explaining what they observed.
Use it as a teacher-led STEM demonstration, an ocean science activity, or an engaging addition to your matter and density lessons.
→ Explore the Complete Ocean Density Jar Resource on Teachers Pay Teachers
Frequently Asked Questions
An ocean density jar is a simple STEM demonstration that shows how liquids with different densities can form visible layers. Students observe which liquids settle near the bottom or top of the jar and use their observations to compare relative density.
Liquids can form layers because they have different densities and do not all mix easily with one another. Denser liquids generally settle below less dense liquids. Pouring the liquids slowly also helps the layers remain visible.
For this experiment, the expected order from bottom to top is honey or corn syrup, dish soap, water, vegetable oil, and rubbing alcohol. Results may vary slightly depending on the brands used, temperature, and how carefully the liquids are poured.
The five layers can serve as a visual reminder of the Sunlit, Twilight, Midnight, Abyssal, and Hadal Zones from top to bottom. However, real ocean zones are not separate layers of different liquids. They are defined mainly by factors such as depth, light, temperature, and pressure.
This activity is designed primarily for Grades 2–3. Younger students can focus on predicting, observing, sinking, floating, and identifying the layers, while older or advanced students can explore density, scientific models, and evidence-based explanations in more detail.
The lesson is best described as NGSS-connected and building toward 2-PS1-1: Matter and Its Interactions. Students observe and compare properties of liquids, identify patterns, analyze results, and use evidence to explain what happened.
Some mixing is normal. Household products can vary in density and composition by brand, and pouring too quickly can disturb the layers. For the clearest results, pour each liquid slowly down the side of the container and allow each layer to settle before adding the next one.
This activity should be completed as a teacher-led demonstration because it uses rubbing alcohol. The teacher should handle the alcohol, wear appropriate eye protection, work in a well-ventilated area, and keep it away from heat, sparks, and flames. Students should never taste or handle the liquids.